Here's a blog post from last year. I started this entry and never finished it.....
--------------------------
Did you all see that movie? Along Came Polly? I thought it sucked. I named the blog post this because, well, I couldn't think of anything clever.

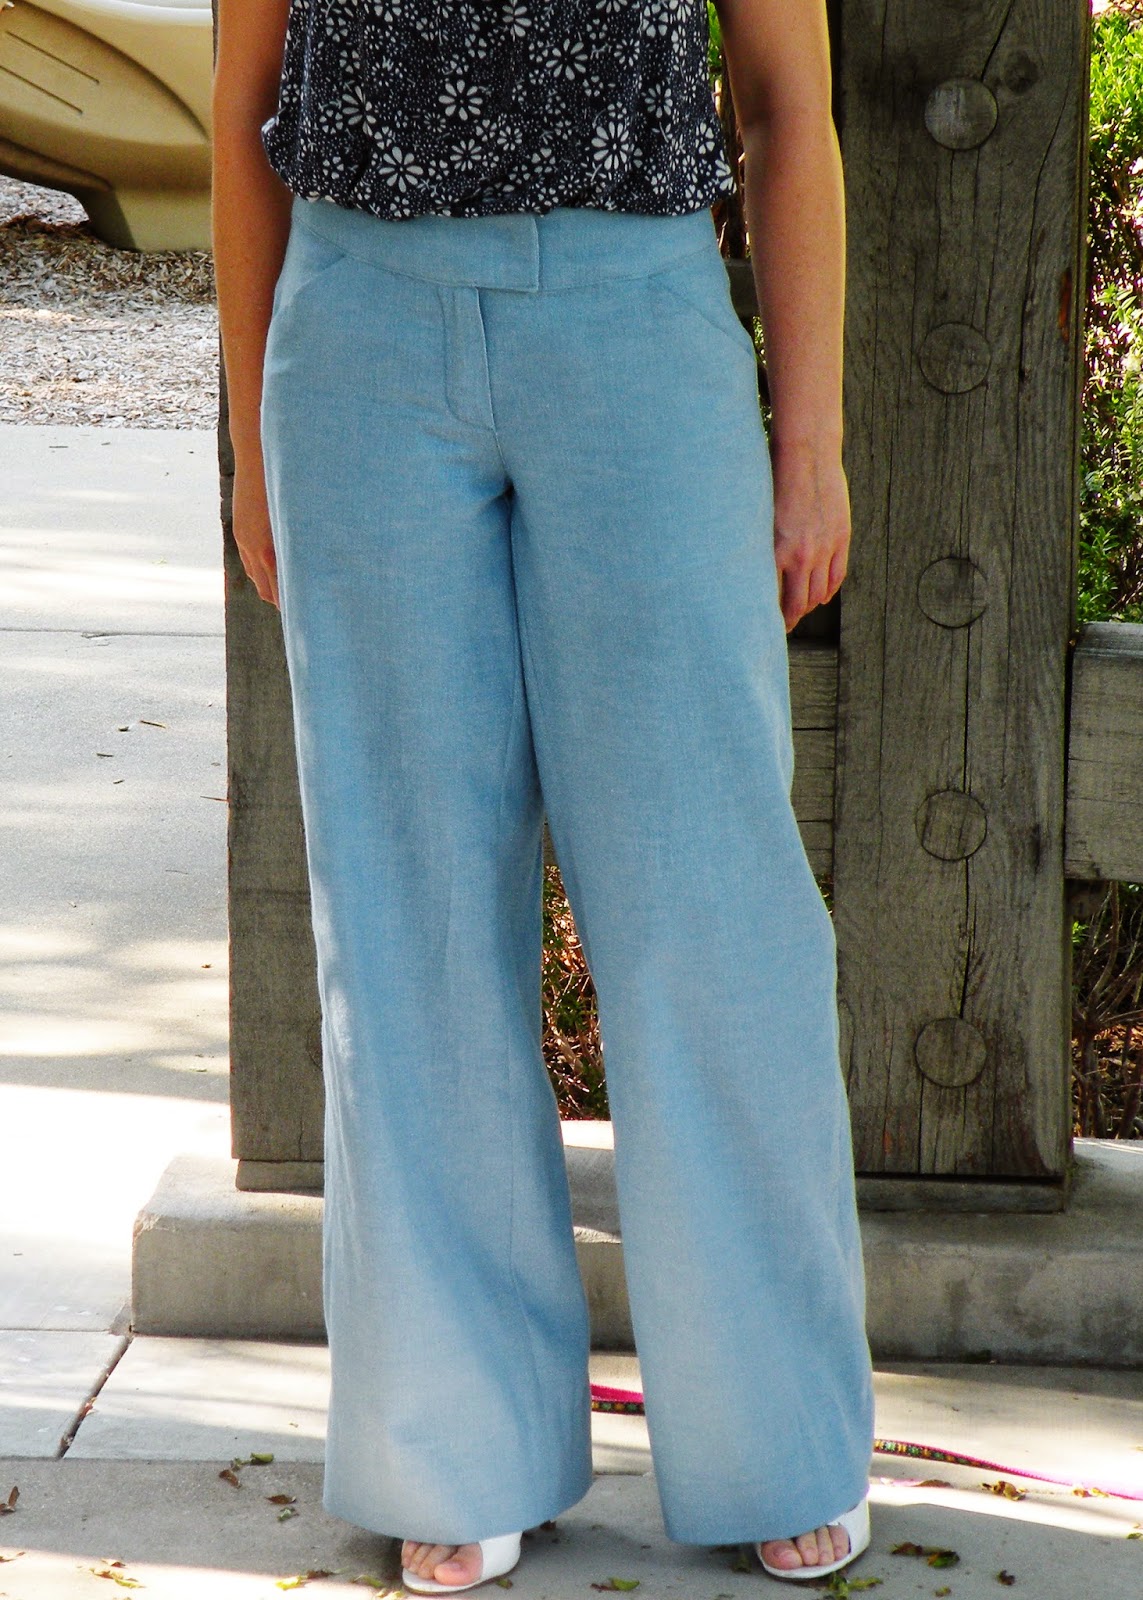
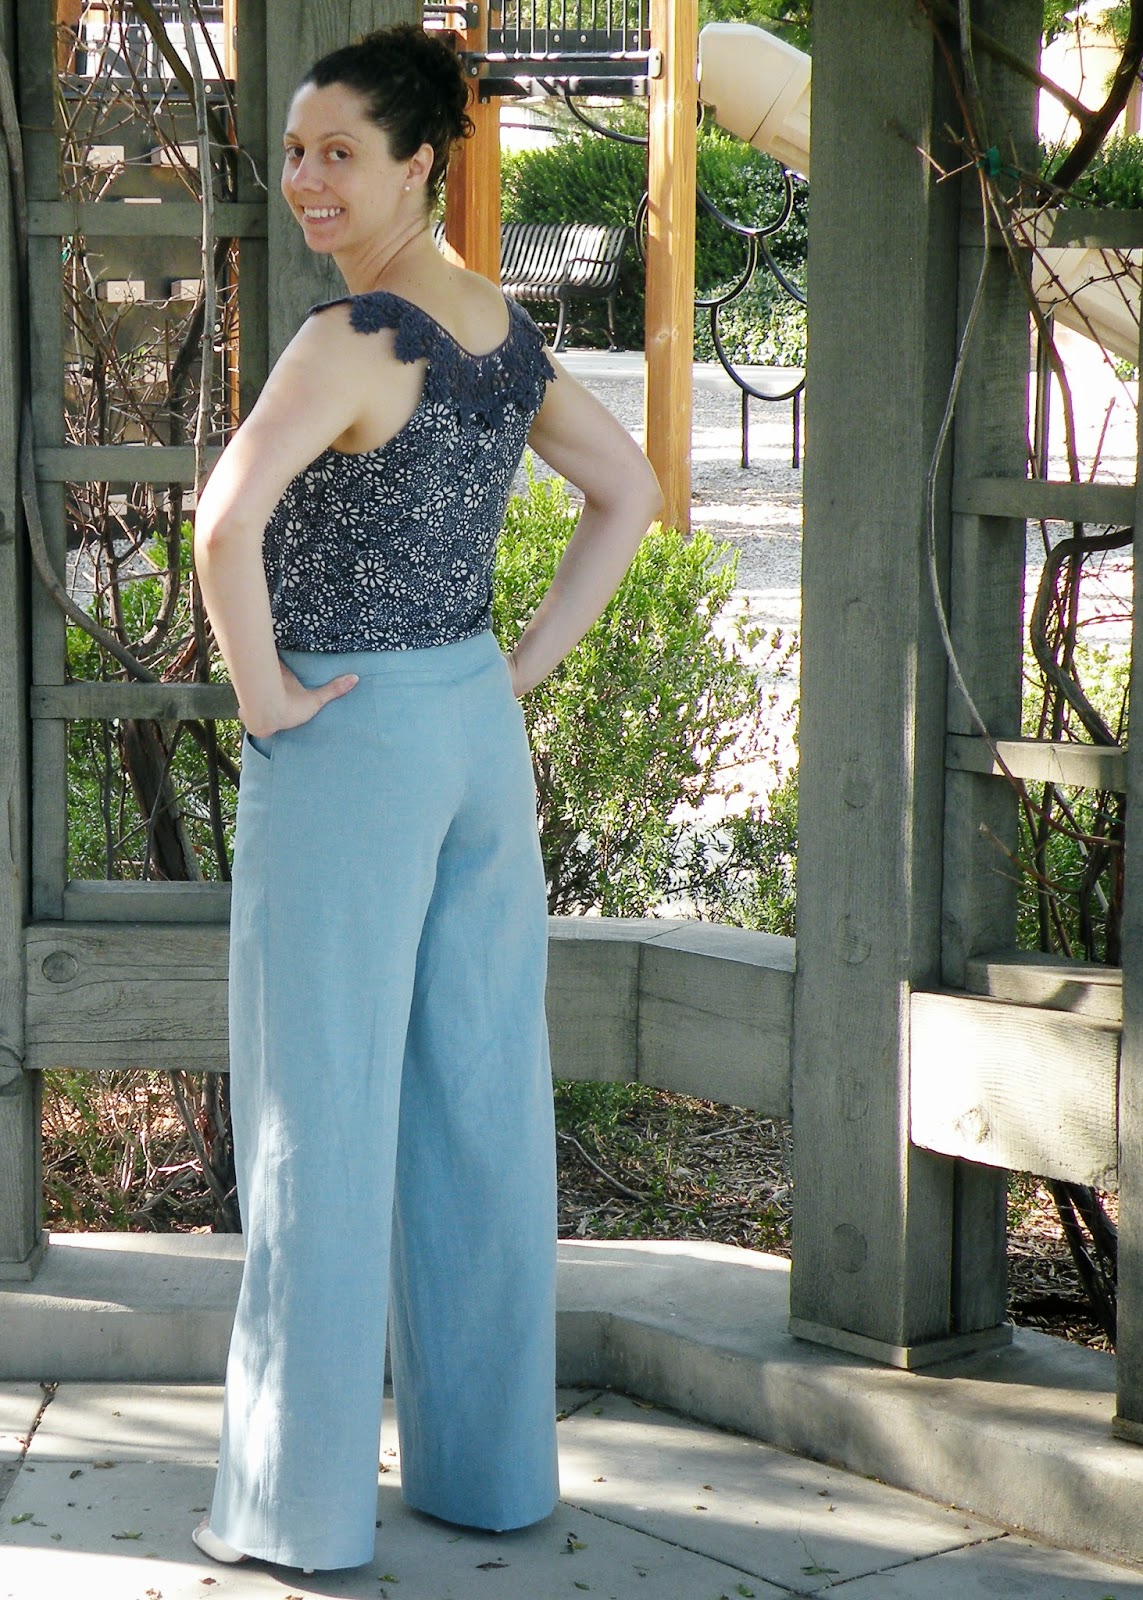
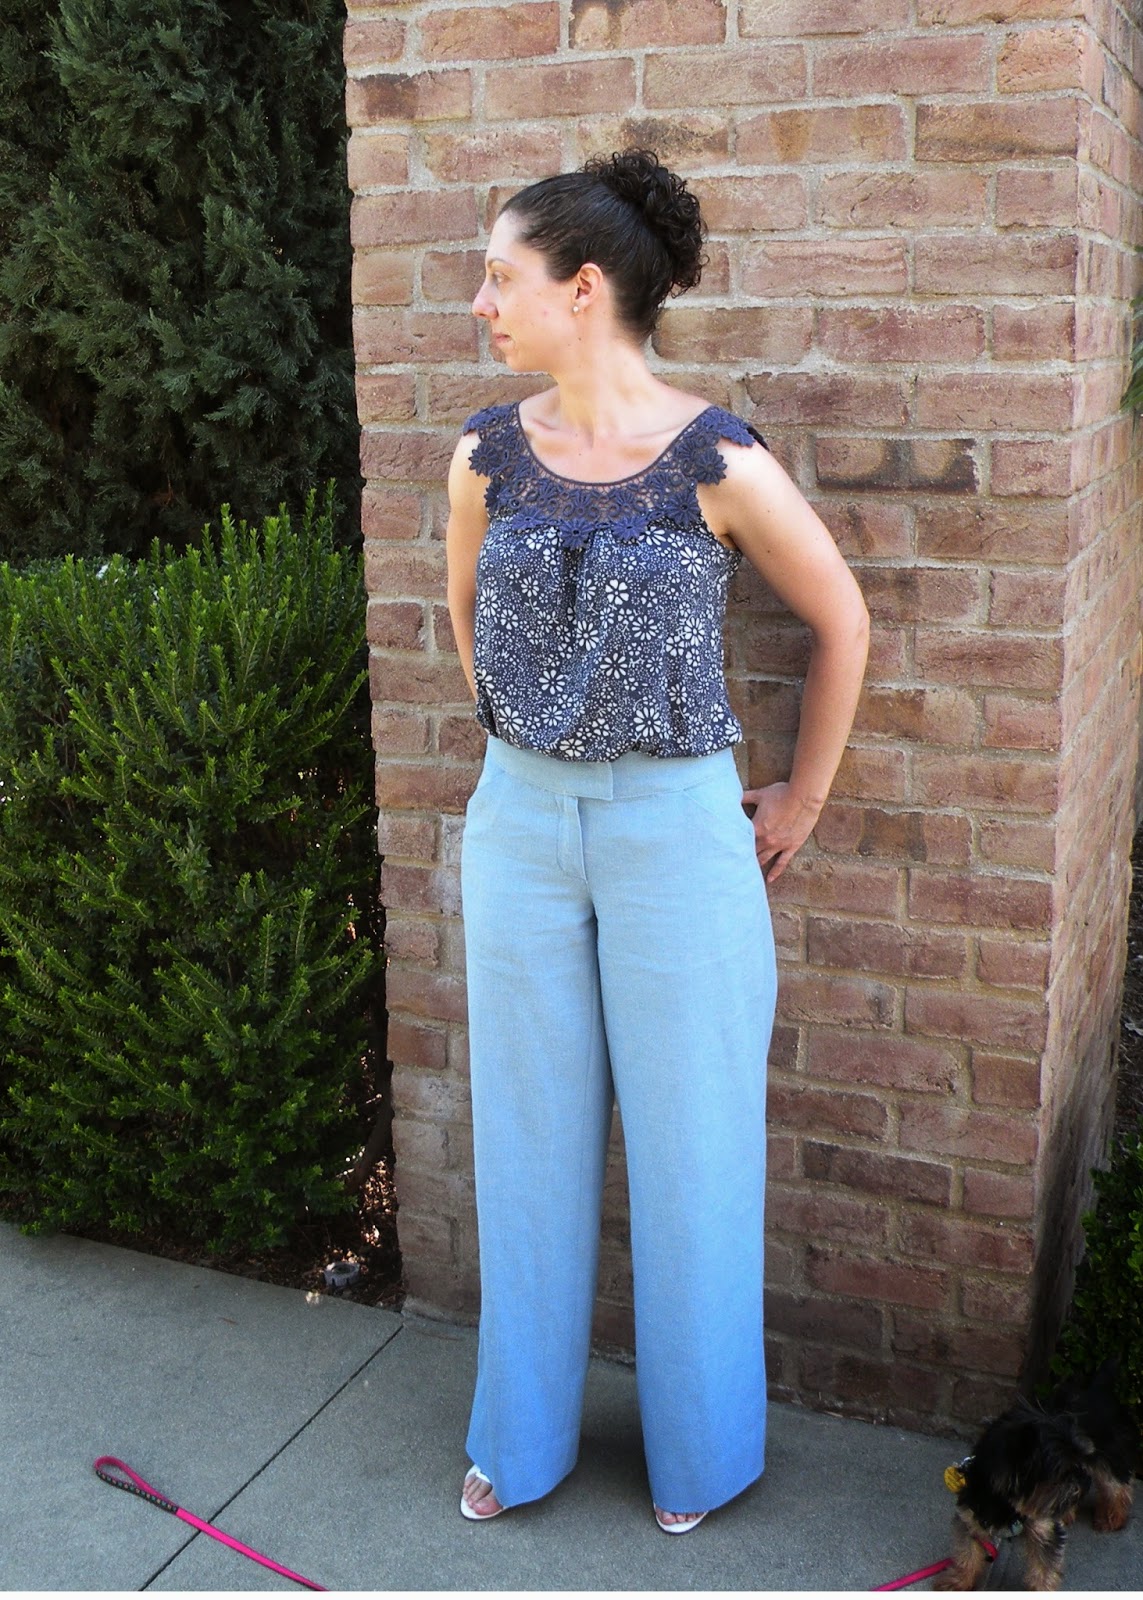
I made the Polly Top and I have to say, I really like it! It is a great addition to my wardrobe as it goes with so many things already in my closet. (Edit: The top is super well-made. < patting myself on the back > but I'm not loving the fabrics. I have worn it once..)

I printed out the pattern at the end of June (LAST YEAR) and decided I would attempt to build a Mini Wardrobe around the blouse for the Pattern Review Mini Wardrobe Contest. (LAST YEAR!!!) It was a fairly simple top to sew, and it would have been much easier had I not chose to make the top in a poly crepe de chine and a charmeuse. Charmeuse is freakin' slippery and it was a nightmare to sew going around the curve. Using it for binding wasn't a problem though. Go figure.....
I have written a full review on PR. I'll be posting pictures of me wearing the shirt hopefully soon. These were late night, dark room photos. Oh well.
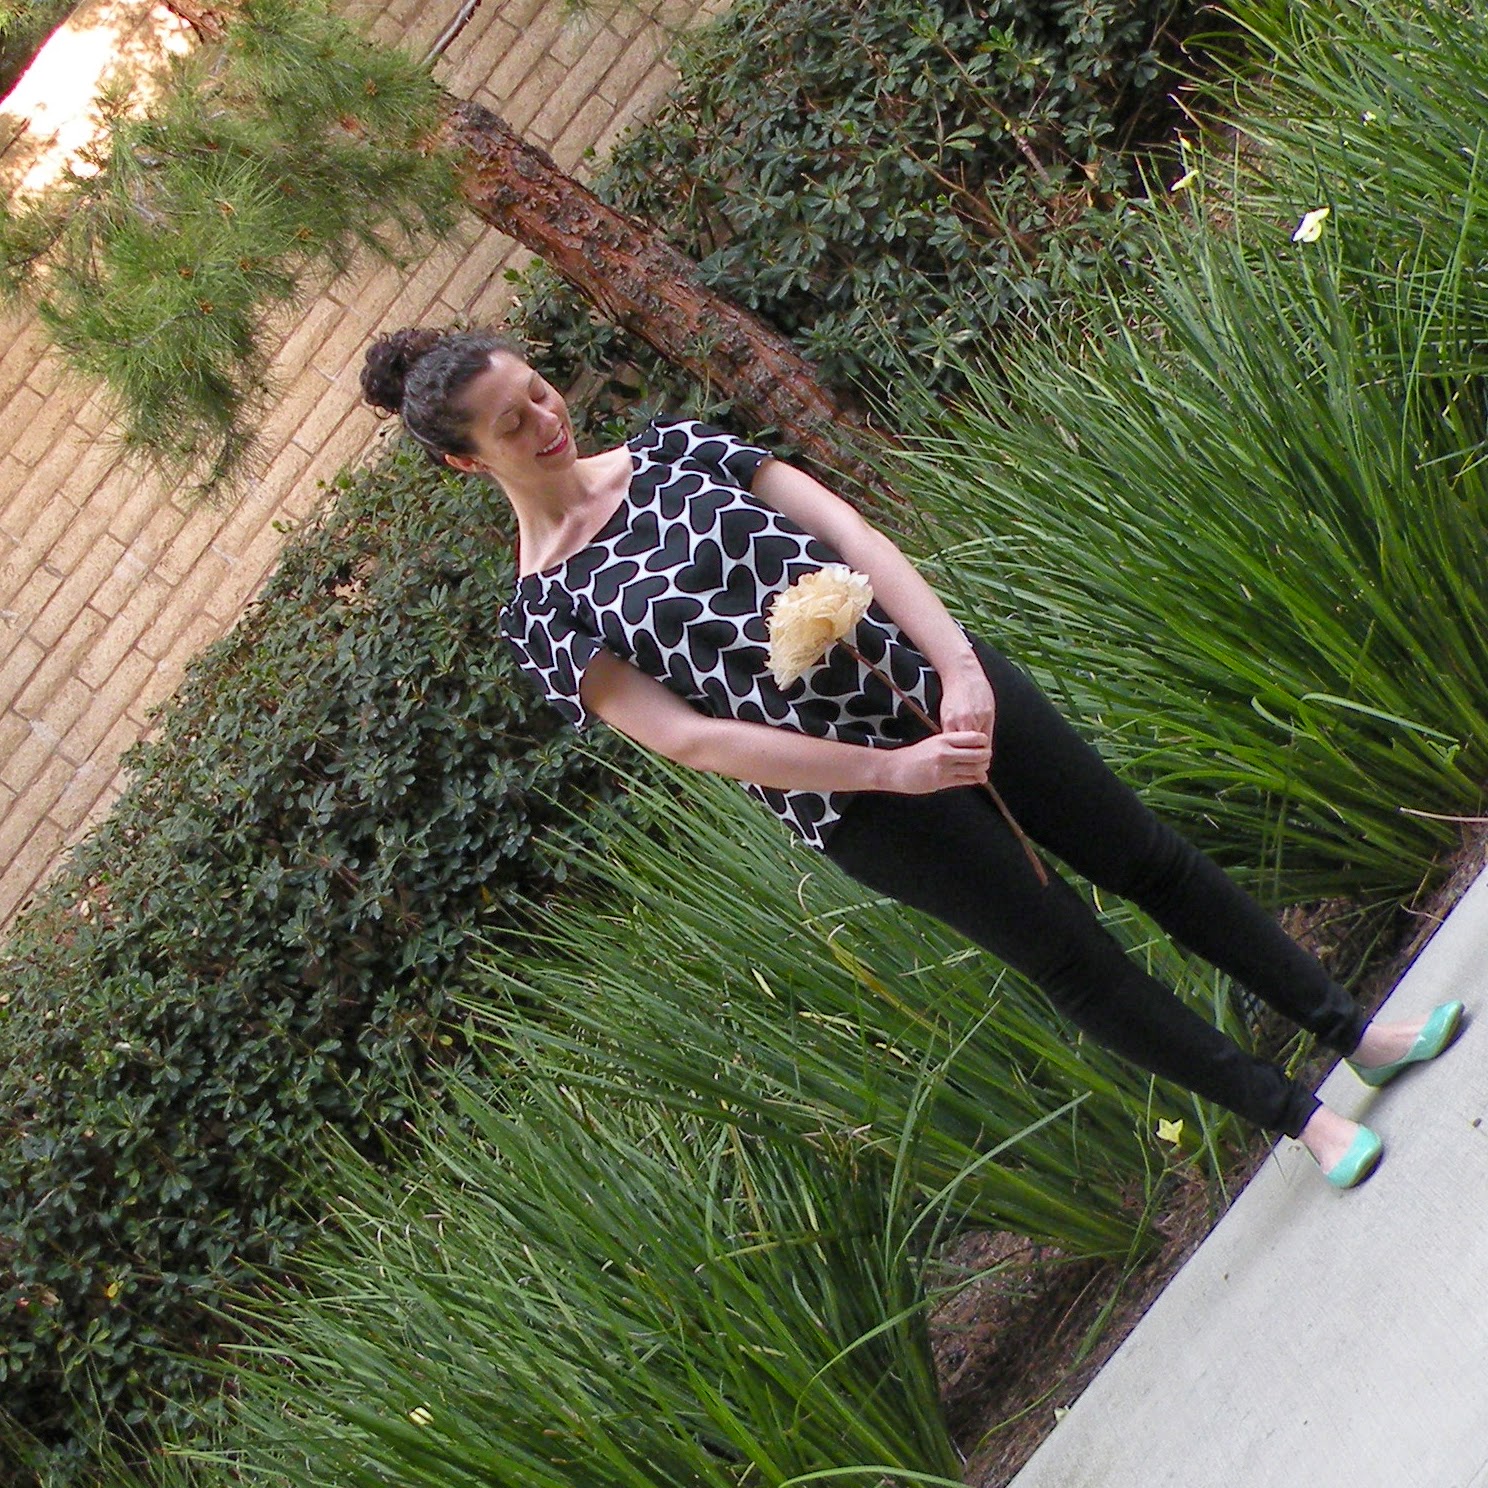
Finished the Apple Peel Leggings from Pattern Magic also. Those were a pain in the butt, but they are done and wearable. Not a fav, but I'll go into that in it's own post.
Finished the Apple Peel Leggings from Pattern Magic also. Those were a pain in the butt, but they are done and wearable. Not a fav, but I'll go into that in it's own post.